Managing subject groups
This help guide will take you through the steps required to assign pupils to specific subjects in FFT Aspire in order to display only the subject that each pupil is taking at GCSE level and for Post 16 qualifications. At Key Stage 2 all pupils have targets set in every subject therefore there is no need to assign subjects to pupils until Key Stage 4. These changes will take effect in the Target-Setting dashboards in Aspire.
- Log into the Aspire site https://fftaspire.org
- Select the Administration icon located in the top right hand corner of the Aspire Screen.
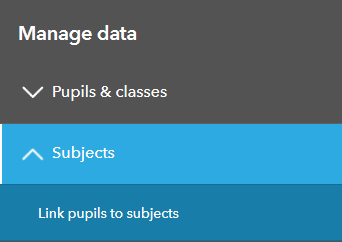
- This will return a dropdown list of options on the right hand of the screen. Under Manage data, select ‘Subjects’ and ‘Link pupils to subjects’.
- Select the Key Stage for which you wish to assign subjects using the blue ‘KS’ dropdown box, for example KS4.
- Select the Year group for which you wish to assign subjects, using the blue ‘Year’ dropdown box, for example e.g. Year 7.
- Each pupil is displayed in a row containing a number of green ‘plus’ icons. Each column represents an individual KS4 or KS5 subject.
- Click the green ‘plus’ icon in any column in a pupil’s row to remove the pupil from the Target-Setting dashboard for that subject. The tick will be replaced with a red ‘cross’ icon denoting the pupil’s removal from the relevant subject.
- Pupils who have had a subject removed from their row can be added again by ticking the red ‘cross‘ icon in the subject column.
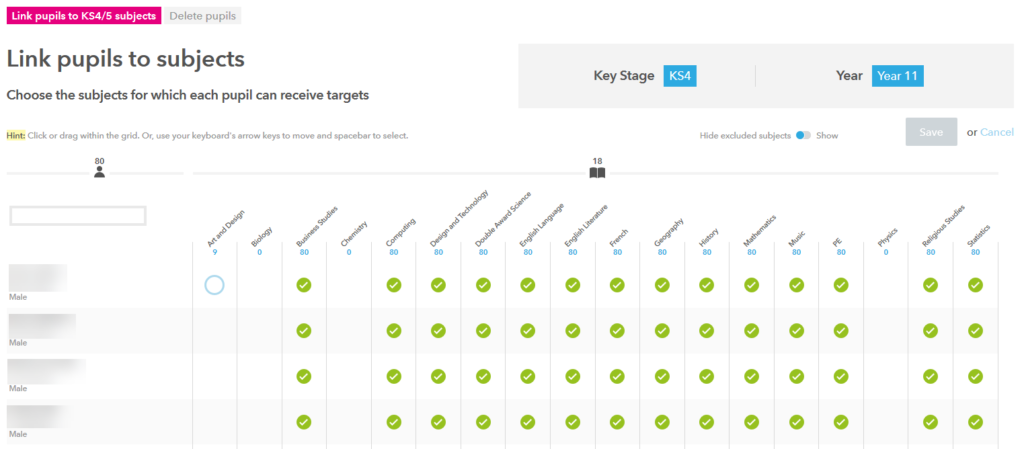
- Once the subject entries for all students have been set, click the blue ‘Save‘ button. Clicking ‘cancel’ will retain any existing settings.
- The Target-Setting dashboards in Aspire will now only display targets for the subjects that have been set for each pupil in this process.